
How to Make a Bookmark from a Coloring Page
Choose a small scene, color it flat, then mount and trim it into a personal bookmark. Includes a crop-window method and a real free book sample.
A coloring page can become more than one finished picture. If a corner has a small motif you like, you can turn that section into a bookmark. The method below keeps the printed page flat while you color, then adds support after the color is dry.
You need a printed coloring page, pencils or crayons, a ruler, scissors, a glue stick and a scrap of lightweight card. Start with a strip about 2 × 6 inches (5 × 15 cm), then adjust it to suit your book and the picture you choose. Print on ordinary paper and add the card afterward, so you do not need to feed thick card through your printer.
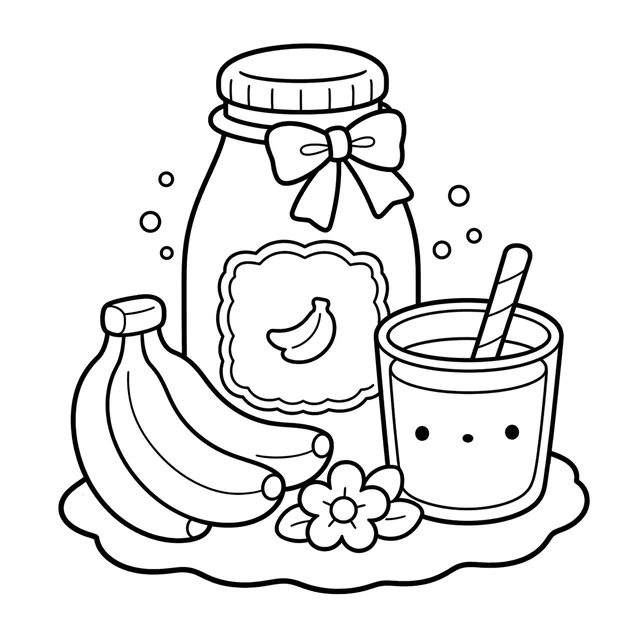
See the Cozy Banana Cottage Friends book, or browse the free coloring-page library for the 12-page mixed sampler and book samples with five coloring pages each.
Choose a crop before you color
Look for a self-contained part of the page: a character, a flower, a pastry, or a small cluster of objects. Hold a scrap of paper over the page to make a temporary window. Move it until the crop feels balanced and leaves a little space around the main shapes. If the picture needs its surroundings to make sense, use a wider bookmark or keep the whole page for another project.
Check that the crop fits the paper or card you plan to use as backing. A bookmark can be narrow or wide; there is no required size. Leave enough margin to trim cleanly without cutting through the main outline.
On the sample above, try a vertical window around the jar, keeping its lid, bow and banana label visible. If the crop cuts the bow in half, widen the window or reduce the picture when you print it. You can also choose a small flower for a shorter bookmark instead of trying to fit the whole scene.
Color the page while it is flat
- Print the page using your printer’s normal-size or fit-to-page option, and check the preview so the chosen area is not cut off.
- Test your coloring tool on a spare print or a small edge area first. Paper, printer ink, and coloring materials differ, so a test is more reliable than assuming a combination will behave the same for everyone.
- Color the selected area before cutting it out. This gives your hand support and makes it easier to reach the edges.
- Let the page dry fully if you used a wet medium. Keep it flat while it dries.
If the printer settings are unfamiliar, the printing guide explains how to check page size and preview before printing.
Add a backing and finish the edges
Cut a strip of lightweight card or another backing that supports the page. Place the colored section over it before applying adhesive so you can check the crop and border. If you want the back to look finished, cut a second plain strip to cover the reverse.
- Trim the colored panel with a little margin around the outline.
- Apply a thin, even layer of glue to the backing, following the adhesive’s instructions. Avoid wet glue that may wrinkle the printed page; test first if unsure.
- Center the colored panel and press it flat beneath clean scrap paper while it sets.
- Trim the backing to match. Round the corners with scissors if you prefer, taking small cuts so the edge stays even.
A hole and ribbon are optional. If you add one, punch through the reinforced top edge rather than close to a delicate corner. You can also leave the bookmark plain; a clear sleeve is another option if you already have one that fits.
Keep the page for personal use
This project is for your personal reading. If a friend wants to try it, share the free sample page so they can get their own copy. See our licensing information before using artwork for anything beyond personal use.
For another project, try mounting a wider scene as a card front. The free library offers both a mixed sampler and book-by-book samples, so you can choose a page that suits your idea.
Twelve free printable coloring pages
Two pages from each of six books, free and with no email required. Download the free pages.
Email me when a new Coloring Nest book is released. Nothing else.
Printable PDFs