
How to Blend Colored Pencils on Printable Coloring Pages
At Coloring Nest, we blend colored pencils on a printable page by building a shared middle instead of covering one color with the other. Map a bright end, an overlap zone, and a shadow end inside one shape. Carry the lighter pencil beyond the center with light pressure, feather the darker pencil into that base, and cross the join again with the light color.
Keep both pencils moving in the same direction as the shape, turning the page when your hand needs a cleaner angle. The blend should read as one gradual path while both endpoint colors remain visible.
Give one shape a clear route
Choose one shape that can hold an obvious change from light to dark. A blanket fold, character, fruit, leaf, or wide prop can all work when the printed outline gives your strokes a direction to follow. Pick the subject you most want to emphasize; the projects in our adult coloring book guide offer several places to begin.
Divide the shape mentally into a bright end, a generous middle, and a dark end. A round shape may keep the bright area compact; a long flat shape may let the middle stretch across most of its width. Decide where each pencil should enter and fade.
Set one route before coloring: left to right, top to bottom, or around a curve. Keep that route through every layer. When strokes approach the printed boundary, shorten them instead of turning them sideways or tracing the outline.
Choose two pencils with separate jobs
Let the lighter pencil establish the bright end and travel through the middle. Let the darker pencil define the opposite end and fade before it reaches the brightest area. Two neighboring hues can make a gentle transition, while two colors farther apart can keep more color contrast. In either case, their light-to-dark roles should be easy to distinguish.
An optional middle pencil belongs only in the overlap. It should connect the endpoints, not wash across the whole shape. Place it between the other two pencils so the working order stays visible.
When you are assigning colors across the entire page, a five-color swatch strip can hold the larger palette plan. Pull only the light, dark, and optional bridge color into this blend.
Carry the light layer beyond the center
Start at the bright end with gentle, even strokes. Small overlapping circles can build a quiet field; short directional strokes can follow a fold, petal, leaf, or rounded form. Choose one movement for the shape and repeat it instead of switching marks halfway across.
Move the light color through the planned middle and let it fade near the dark end. Reach any small gap with the next pass rather than pressing harder in one spot.
Where a blanket is visible in Cozy Library Coloring Book, let this light-first path travel along the fold and keep any nearby books to shorter overlaps. Get it on Etsy.
Complete the whole light path before changing pencils. That continuous base makes the darker entrance deliberate instead of a series of separate patches.
Feather the dark color inward
Begin at the shadow end and use the same general stroke direction as the light base. Keep the first dark marks close together at the edge. As they travel into the middle, make them lighter, shorter, and slightly farther apart. Their faint ends should land over the light layer rather than stop in a straight row.
Keep the dark color inside the printed outline instead of drawing another border. Turn the page as strokes wrap around a curve; on a flat area, keep them parallel and vary their lengths.
On one bold cat character in Printable Japanese Spring Cat Picnic Coloring Book, give the darker strokes room to taper across the main form while keeping nearby food or flower details to brief overlaps. Get it on Etsy.
Stop the dark layer while the bright end is still untouched. A dark stroke that reaches all the way across removes the endpoint the lighter pencil needs to protect.
Cross the join with the lighter pencil
Return to the lighter pencil at the bright end and follow the original route into the overlap. Cross the faint tips of the dark layer, then ease the pencil before it covers the shadow end.
Add a second dark pass only from its own side. Let it meet the fresh light layer with fewer strokes than before. This alternating movement—light across the join, dark into the join—softens a boundary without turning the entire shape into one middle color.
If a stripe appears where the colors meet, widen the lighter pass on both sides of that stripe. If the dark end feels isolated, extend a few pale dark strokes into the existing overlap. Work on the narrow meeting area rather than adding another layer everywhere.
With a bridge color, place a slim band through the join, then cross it once from each endpoint with the matching pencil.
Match the overlap to the shape
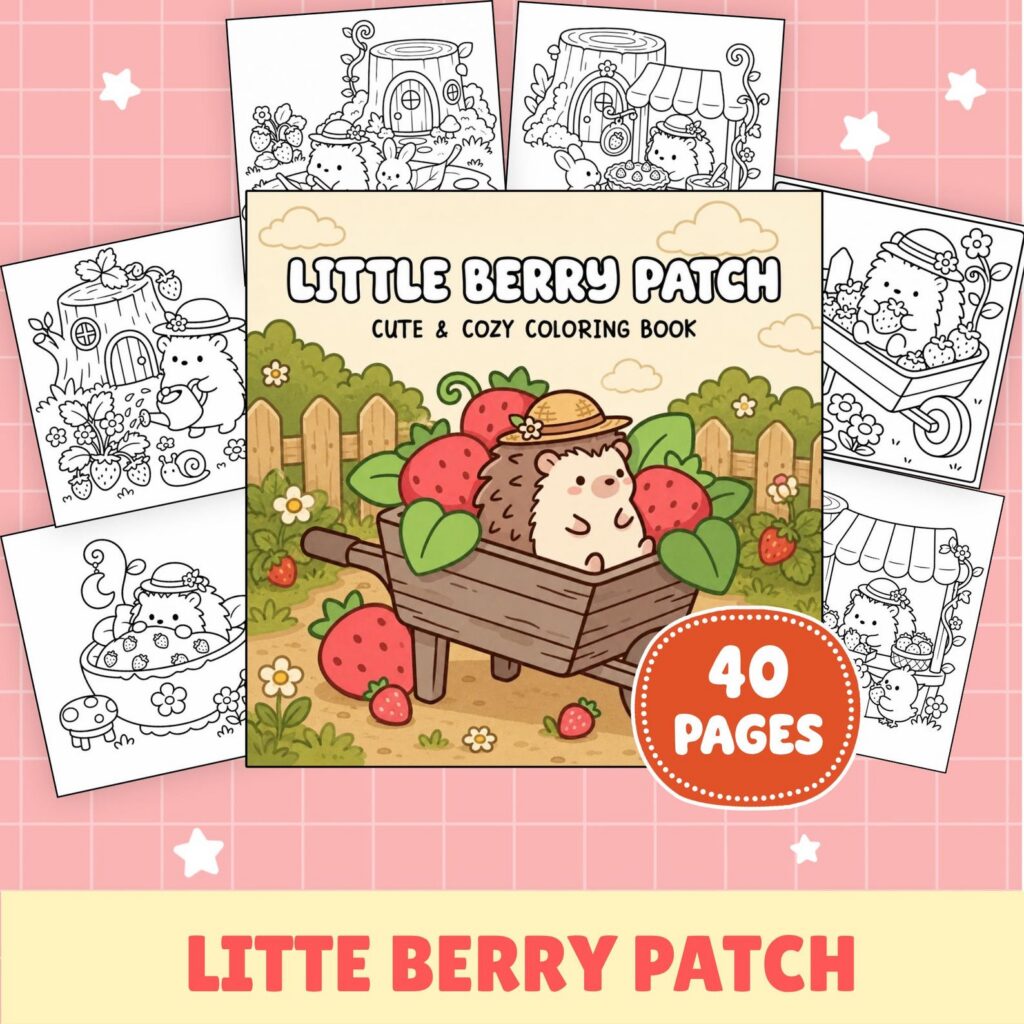
A broad curve needs strokes that fan or arc around it. Keep the light area slightly off center, let the overlap bend with the outline, and taper the dark color toward the far side. On a strawberry in Cottagecore Strawberry Garden Hedgehog Coloring Book, curve each pass around the fruit and narrow the meeting zone toward its pointed end. Get it on Etsy.
A flat wall, table, window, or piece of fabric can carry a longer parallel transition. Begin each layer from the same side so the shift stays orderly. A thin leaf, ribbon, or small architectural detail needs only a short meeting point: one light pass, a restrained dark edge, and a small overlap between them.
Give the widest blend to one focal shape and repeat the two colors in shorter transitions on small details. If broad fields call for a different tool, use crayons and colored pencils on the same coloring page with a clear handoff between area sizes.
Deepen the ends without flattening the middle
Once the two colors meet, strengthen only the places that still belong clearly to an endpoint. Add one controlled light pass at the bright side and one controlled dark pass at the shadow side. Ease both pencils before they cross the center. The middle should contain traces of each color, not a solid coat of whichever pencil you used last.
Use firmer pressure only in a small endpoint area. Leave the transition in lighter layers so its stroke direction remains visible.
Look at the whole shape without adding a new mark. Your eye should be able to travel from the light endpoint, through a shared middle, to the dark endpoint without stopping at a stripe. Stop when that light-to-dark route is visible and both endpoint colors still have their own space; another full layer would flatten the blend you just built.
Twelve free printable coloring pages
Two pages from each of six books, free and with no email required. Download the free pages.
Email me when a new Coloring Nest book is released. Nothing else.
Printable PDFs