
How to Color Fabric Texture in Blankets and Tents
Color fabric texture by building the form before adding any decoration. Cover the blanket or tent with a middle-value base, place a broad light shape on the side facing your imagined light, and add a narrow dark shape at a fold, overlap, opening, or tucked edge. Bend those value shapes across blanket folds and aim them toward the top or sides of tent panels. Add stripes, dots, or short strokes only after that structure is clear.
We use the same three-value idea for both subjects, but the direction changes. Blanket values travel in curves and taper around overlaps. Tent values travel in straighter wedges from a point, opening, or support line. That difference gives each shape its own visual texture without covering it in tiny marks.
Map Light, Middle, and Dark Across the Whole Shape
Start by following the printed outer contour with your eyes. Notice where it rises, dips, changes direction, or disappears behind another object. Then find the interior lines that already suggest a fold, panel, opening, or edge. Choose two or three of those changes to carry the value plan rather than darkening every line.
Pick a light, middle, and dark version of one hue. The middle value is the shared base, so it should remain visible across most of the shape. Give the light value one broad area and reserve the darkest value for a few narrow turns. This simple division makes the surface readable before pattern enters the picture.
If the drawing has very few interior lines, use the silhouette to invent a modest map. Place a light area beside a high point or open plane, then let a dark turn taper away from it. Avoid making equal bands from edge to edge. Unequal widths and quiet gaps of base color keep the map connected to the shape.
Choose one main practice subject instead of mapping every soft object in the scene at once. Our cozy coloring book guide can help you choose a scene with a clearly outlined blanket or tent. Let neighboring shapes stay simple until its light direction is established.
Shape Blanket Folds With Curves and Tapered Shadows
Choose the blanket’s main visual direction first. It may fall from a chair, cross a lap, turn over an edge, or gather at a corner already shown in the line art. Draw the light area as a wide, slightly curved crest across that direction. Beside it, keep a generous middle-value transition and a slimmer dark turn.
Vary the width and length of each band. One crest can travel across most of the blanket, while the next fades early. Let another bend around a tucked corner instead of repeating the same wave. Regular bands make the surface look striped; varied curves let one section appear open while another appears folded.
At an overlap, place the darkest value where the front section meets the section behind it. Taper that dark shape as the two edges separate. A small tucked corner may need a compact shadow, while a broad open area can stay mostly middle value. Keep the strongest contrast at one or two intersections rather than tracing the entire fold.
If you are using colored pencils, the light-layer order in our guide to blending colored pencils on printable coloring pages can soften the transition while keeping the crest, middle, and turn in their planned places.
In a rainy interior, pair the curved blanket treatment with the upright, broken color in our guide to coloring rainy-day reflections. The change in direction keeps the two surfaces distinct even when their hues are related.
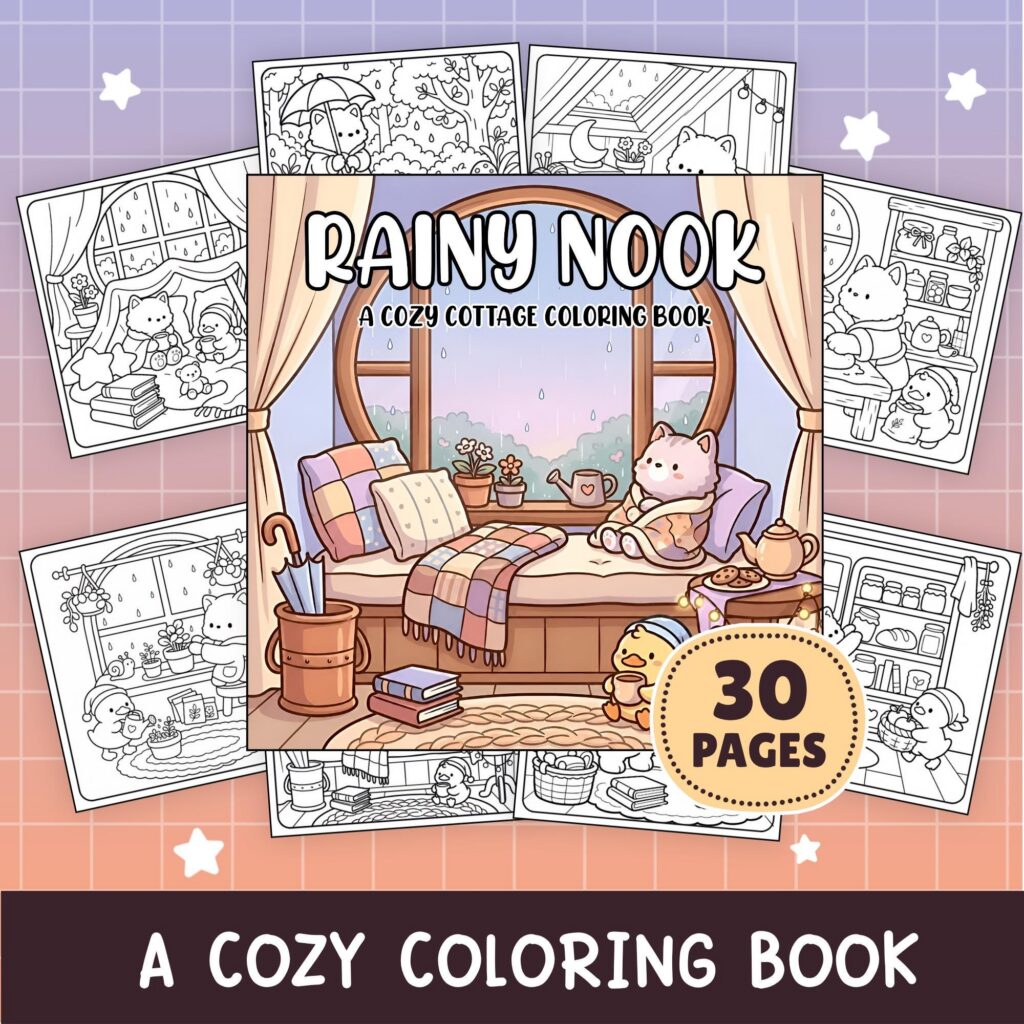
In Cottagecore Rainy Day Cozy Coloring Book, choose a visible blanket in a sheltered interior and practice one broad crest, one tapered shadow, and one broken pattern repeat on that shape. Get it on Etsy.
Direct Tent Values Toward the Top and Opening
Treat every visible tent panel as one large shape before adding small marks. Find the top point, opening, support line, or side edge provided by the drawing. Aim the panel’s light and dark changes toward that feature so the color reinforces the direction already present in the line art.
Carry one middle-value base across neighboring panels to connect them. Make one panel slightly lighter, leave the next mostly at the base, and use the darkest value for an opening or a narrow turn between panels. A shared hue keeps the tent together; the value changes separate its visible faces.
Build long wedges instead of outlining each panel. A light wedge can begin wider near the base and narrow as it approaches the top. A dark wedge beside an opening can do the same. Keep one or two panels quieter so the strongest directional shapes have room to lead the eye.
At the bottom edge, shorten strokes before they become a heavy horizontal band. Near the top, bring them closer together or let them disappear into the point. On a side panel, angle the strokes toward its outer edge rather than forcing every mark upward. Each visible face can have its own route while still belonging to the same structure.
A visible tent in Cozy Camping Coloring Book gives this method a focused subject: repeat one base hue, shift the value from panel to panel, and direct the strongest shapes toward the top or opening. Get it on Etsy.
Bend Surface Marks Around the Form
Choose one simple family of marks after the values are in place: narrow stripes, short dashes, small dots, or an open check pattern. Begin in a middle-value area, where the marks can be seen without competing with the light crest or deepest shadow. Leave generous gaps so the base still carries most of the surface.
On a blanket, curve a stripe over the light crest, compress it near the dark turn, and break it at an overlap. Let it return on the next visible plane only if its new direction is clear. For dots or dashes, widen the spacing on an open section and gather a few marks near a bend instead of laying out an even grid.
On a tent, angle repeated marks toward the same point or edge as the panel shading. Narrow the spacing as the panel narrows, and stop a row when it reaches an opening or changes faces. Begin a fresh row on the neighboring panel rather than carrying one straight pattern across the turn.
Keep every surface mark lighter than the deepest structural dark. At a shared edge, separate the fabric shape from its neighbor with a change in hue, value, or mark direction, not a heavy outline around both. A patterned area can meet a quiet one, or a cool middle value can meet a warmer neighboring shape.
Add no mark merely to fill an open patch. Leave middle-value space between the repeats, allow blanket bands to bend and taper, and let tent wedges rise toward their panel edges. Once those folds and panels describe the fabric form, leave the remaining space quiet.
Twelve free printable coloring pages
Two pages from each of six books, free and with no email required. Download the free pages.
Email me when a new Coloring Nest book is released. Nothing else.
Printable PDFs